Household chores can be completely tedious. Some people dread the thought of spring cleaning, doing the dishes or even just dusting and mopping, but one task has some of us constantly frustrated — ironing clothes.
Ironing your clothes can be the difference between a stunning outfit and a hot mess, but many people don’t know how to approach this chore to do it effectively. Though it can be daunting, you don’t have to become overwhelmed when squaring off with a pile of wrinkly clothes. Here’s some tips on how to efficiently iron your clothing:
Preparing The Iron
Before you begin ironing, you need to get set up. Ideally, you need an ironing board as your surface because it absorbs the heat from the iron. You also need to fill the iron with water, as this will allow you to steam your clothing. After you fill the iron, turn it on and allow it to heat. Different types of fabrics require different heat settings, so it’s important you set it to the right temperature to avoid burning your clothing. Fabrics such as silk and polyester should be ironed on the lowest setting your iron has. Wool and rayon should be ironed at the medium setting, while cotton and linen can be set to the highest heat.
Ironing Your Clothes

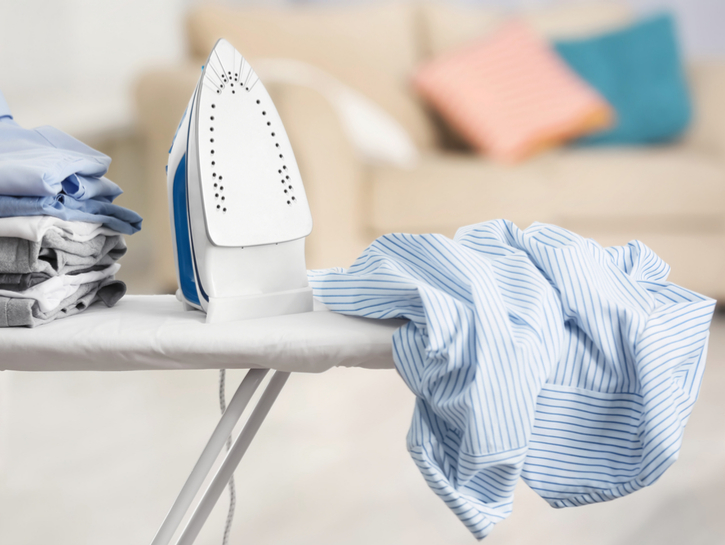
Africa Studio/Shutterstock
Shirts
Ironing shirts, whether a simple cotton T-shirt or a nice button-down for work, is simple once you know the right technique for removing wrinkles.
- Start at the sleeves and iron them flat. If you leave the sleeves for last, you can create wrinkles in the body of the shirt that you just ironed. If your shirt has cuffs, open them when you iron to better dewrinkle.
- Once you iron your sleeves, begin ironing the body. Follow the natural folds and creases on the shirt as you smooth out the wrinkles.
- After ironing one side, flip the shirt over and iron the other side.
- When the shirt is ironed and smooth, hang it up immediately to cool. If you leave it lying, even on a flat surface, more wrinkles can form.
Pants
Pants are a bit more tricky than shirts, but once you master the strategy it will become second nature.
- First, iron around the waistband, including the fly, seams, hems and pockets.
- Move onto the legs and work in sections up both pant legs to the crotch.
- Finally, you need to find the main crease. Lay the pants out on your ironing board and line up the seams of the leg so they match. Spread the fabric of the pant leg as far as it will go to find the crease.
- Press this crease with bursts of steam.
- Hang the pants immediately so they can cool and set.

Zivica Kerkez/Shutterstock
Dresses And Skirts
Ironing these two garments follow the same technique:
- For dresses, start at the body and iron as you would a shirt.
- For skirts and the bottom of dresses, simply at the bottom hem and iron up to the waist.
- If the skirt has pleats, iron the inside of the pleat and then the outside of the pleat. Set the pleats with a blast of steam as you would for a pant crease.
Ties
Though ironing ties should be avoided because they are so delicate, sometimes that isn’t possible.
- If you need to iron a tie, make sure it is at its lowest setting. Along with this, you want to use a pressing cloth to provide additional protection to the fabric as you iron.
- When ironing, lightly press and move the writer up and down the tie. Make sure to never allow the iron to rest in one place. Do this on both sides.