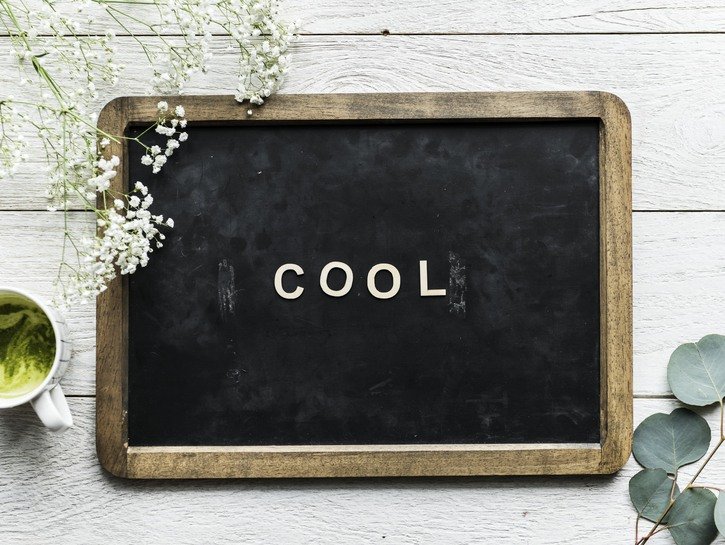
In the past few years, chalkboards have become a go-to for party planners and home decor specialists everywhere. They can be used for almost anything you can imagine, from a farmhouse chic menu board for your kitchen, to table numbers for weddings, to welcome signage for a bbq.
Rather than purchase the chalkboards you need for any upcoming get-togethers or for your home, we’re here to break down how to make a chalkboard. Not only will you save a few bucks with our easy guide, but you’ll be able to customize this DIY chalkboard project for any purpose. Read on for our basic how-to then some fun variations and tips.
What You’ll Need

Before we can begin, be sure to assemble the necessary items for this craft project. We will explain how to create a basic large chalkboard with hanging element.
- spray primer
- chalkboard paint
- foam roller
- plastic wrap
- two screw eyes
- rope (we like sisal rope for this)
- ruler
- scissors
- drill
- sand paper
- ½-in x 1-ft x 2-ft birch plywood
- newspapers or tarp (optional)
- rag
Instructions

Step #1: Prep Step
We suggest you complete this activity either outside or in a well-ventilated garage space. Optionally layer newspaper or tarp underneath your workspace to keep surfaces clean. Begin by using the spray primer and priming the piece of wood. Let dry completely. Then, use sandpaper to smooth your piece of plywood. Wipe clean with a rag to remove sawdust so the board is ready for painting.
Step #2: P is for Painting
With the foam roller, paint the front and sides of your board with chalkboard paint. Let dry completely, then repeat until three coats have been done. Wrap roller with plastic wrap in between coats so you don’t have clean before every use; close paint can in between coats as well.
Step #3: Drill Time
Using a ruler for measurement, determine where you want to space the hanging element. We suggest the two screw eyes be spaced on the edges of the middle third of the board. Using a drill, pre-drill small holes for screw eyes. Attach screw eyes and fasten carefully. Then, use scissors to cut sisal rope to the desired length, depending on where it will hang. Attach the rope to screw eyes. You may also lean the board against a wall if hanging is not necessary.
And with that, you’re all done with a basic homemade chalkboard. Simply decorate with chalk based on your needs.
Variations

There are unlimited ways to craft customized chalkboards for your every need. Here are just a few of our favorites.
- Vintage: for a more dressed-up version, consider a large vintage frame for your chalkboard. Hardboard would be a good thin option for this and can be cut to fit the specificities of your gilded frame. For extra help, your local hardware store or big box store can likely help you cut your materials. For a touch of elegance, we love gold leaf added to an ornate frame or metallic spray paint for a fun edge.
- Rustic: for a more rustic feel, consider the same hanging element as above but adding burlap bows to the rope. You can also attach a holder for mason jars to use for a key drop or as mini herb planters.
- Classic: for a slightly elevated version of our basic chalkboard, we like adding a plain unpainted wooden frame or plain white wooden frame to the board. Then, instead of hanging from the top, for this style we prefer to hang from the back like a normal piece of artwork. This would be a fun farmhouse chic take on this craft.
- Minis: for smaller-scale projects, consider cutting the board into different sizes before painting. There are so many ways they can be customized based on your specific needs.
Uses And Tips

Now that we’ve covered a few ways to create a DIY chalkboard at home, how do we even use the end product? Our favorite way is as a cute menu board in the kitchen; plan out your weeks and share with the family what they can expect for dinner each night. We also love a chalkboard in a home office or library space; fill it with your intentions for the day or inspirational quotes to keep you motivated. In a home gym space, track workouts on a chalkboard calendar.
For entertaining, chalkboards would be great for an ice cream social party. Plus, they can be used for any upcoming Halloween parties or holiday festivities. Use them to share the party menu or beverage menu for a fun presentation.
For smaller chalkboards, you can decorate with a friend’s wedding date in a cute script and present it as a gift or use at a bridal shower for decor. Or, they can be used as table numbers for a wedding. Additionally, itty bitty chalkboards can be great place cards for a barn wedding or rustic dinner party. Or, consider them for labeling the herbs in your garden or in your planters for a charming touch. One more option is to make one for a unique housewarming gift.
We hope you’ve enjoyed our exploration of homemade chalkboards and all their varied fun uses. Mix and match our tips and types based on your needs for the best DIY chalkboard.