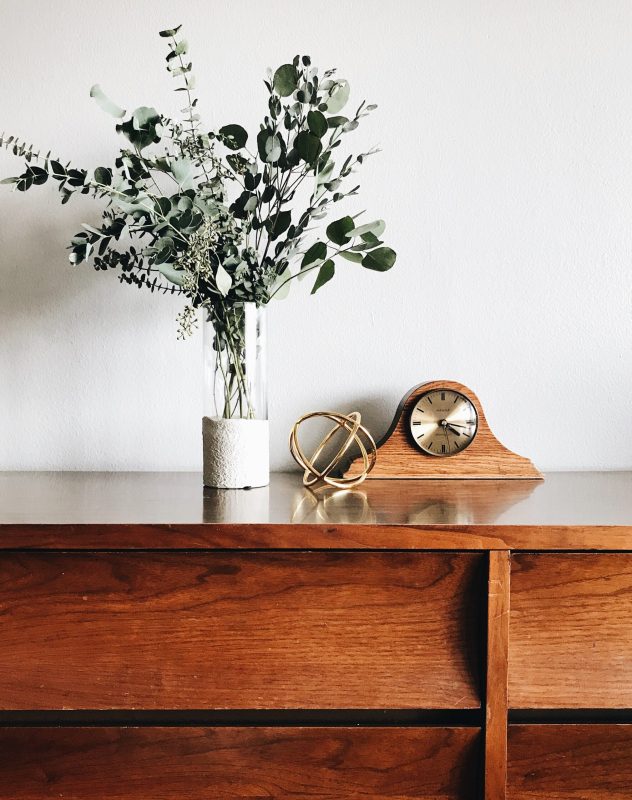
If you are looking to redecorate your home, you may have some hidden antique gems amongst a few modern pieces. If not, then you may want to consider antique furniture. An antique is a piece with history, often old and prized for its beauty and condition. Unlike a vintage or retro item, which holds sentimental value from more recent decades, antiques are often stereotypically relegated to unstylish or uncool pieces that are just old and scratched up. However, this is far from the truth and as with any old item, there are often treasures just waiting to be discovered. The key with antiques is spotting the potential for restoration and refurbishment!

Refurbishing an item of furniture can be hard work, but once you’ve got the knack for it, you’ll be able to better assess an older item that may just need a little work to be your next treasure. By giving your antique a makeover, you may even be able to add more value to it! Just keep in mind that some furniture may not be a good idea to completely reface, such as a piece that is sentimental or historically valuable. Here are some tips on giving old furniture new life.

What You’ll Need
- Nail gun
- Latex gloves
- Table saw
- Wood
- Trisodium phosphate (TSP)
- Wood Stain
- 150-grit manual sandpaper
- medium-wide paint brush
- Putty knife

What To Do
1. Put on clean latex gloves.
2. Sand with 150-grit sandpaper to remove smooth wood and help stripping material to adhere.
3. Use a clean, dry cloth to clean wood, removing dust and debris.
4. Use the paintbrush to apply TSP agent to wood, in one direction, as thickly as possible, working in one direction, leaving the chemical on according to packaging directions.
5. After allotted time for TSP to set, use a putty knife to take off to remove stripping material and residue. If the material doesn’t ready come off, apply an additional layer of TSP, wait the allotted time, then remove again until varnish and residue is removed. To remove wood from crevices, take a dry brush and cut the bristles short until they are stiff, then work the brushes into the crevices until residue is removed.
6. After as much residue as possible is removed, apply a damp rag and wipe the furniture until all the remaining residue is gone. If you are utilizing a solvent-based remover, dip the cloth into a container of mineral spirits or paint thinner, then wipe down the furniture.
7. Allow antique to dry before applying a new coat of stain or primer and paint.

Making Repairs
Before you make any changes to buttons, knobs or legs, keep in mind that the less that is changed in terms of the bones of the furniture, the more valuable it will remain. If cutting off rotted wood, be sure to match the missing piece as much as possible. If repairing knobs and other parts, seek out replacements that are just as old and exactly the same as the part that needs replacing. When setting the replacement piece, take care not to damage the wood. A hammer and nails, nail gun or glue are all ideal options, but must be handled with care to maintain the integrity of the piece.
If you choose to do so, you may use a hammer or other tools to create scuff marks and dents within the furniture to give it a weathered and worn look, but it should match other parts of the furniture as much as possible.

Staining
When staining your replacement part, try to match as closely to the original color as much as possible. The type of wood and the saturation of the stain you use directly correlates of how the finished product will turn out. The steps to successfully stain your furniture is as follows:
1. Begin by testing your stain on a piece of scrap wood before beginning.
2. Next, apply a fresh coat of wood conditioner with a dry brush before proceeding to stain. Then allow the conditioner to dry for about 15 minutes before proceeding with the staining step.
3. Once the wood is dry, take your container of stain, open and mix thoroughly to bring pigmented minerals up to the surface. Make sure that you are staining in a well-ventilated area. Or you may go with a water-based stain to avoid fumes. Do not mix oil and water based stains, and if you desire a custom finish, using 2 or more mixtures, make sure that both stains are by the same manufacturer, for best results.
A water-based paint may be placed over an oil-based one only after waiting 24 hours for stain to dry.
4. Apply a layer of stain with a dry brush or a cloth. Work against the grain and with it. Do not be concerned with neatness, as the mixture will settle and even out as it dries.
5. If a lighter tone is what you desire, then immediately wipe off the mixture to reveal a gently coated finished. If you prefer a darker tone, then leave stain on for an additional 10 minutes, or longer until the desired shade is achieved.
6. Make sure to wipe off excess stain while going with the grain of the wood, which will help the stain settle into the cracks and crevices of the wood.
Stains can be saved for a long time. if you are using an old can of stain and there is a film at the top, simply remove the skin, discard and proceed.
Antique furniture tends to be very old, but can still be beautiful if it’s cared for. Keep these tips in mind if you plan to refurbish your antique furniture to keep them looking as good as new.
