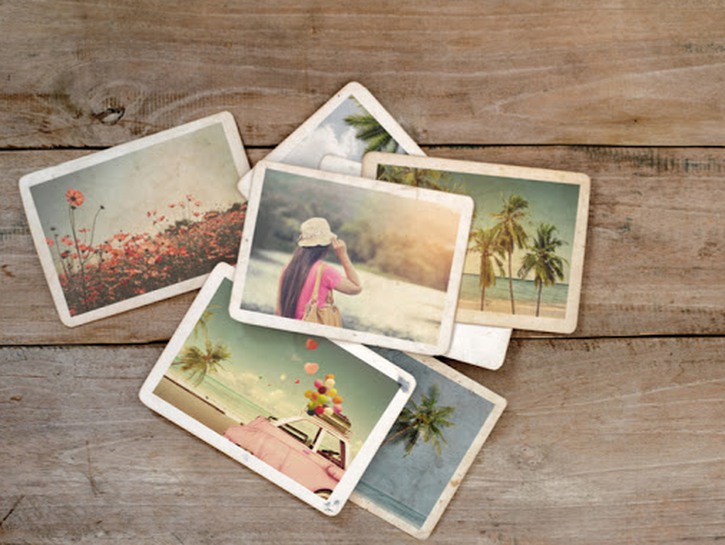
Here at Oola, we pride ourselves on being excellent gift givers and inspiring you to do the same. And what’s better than a custom-made, personalized gift? Almost nothing! Which is why we are so pumped to share our newest favorite craft: DIY photo coasters.
These little pretties only cost about $5 and require just a few craft supplies. Get ready to knock all your gifting out of the park with our photo coasters guide. We’ll share exactly how to make them, plus some cool variations on this excellent DIY project.

What You’ll Need:
- Printer
- Scissors
- 4×4 tiles
- Foam brush
- Mod Podge
- Felt
- Glue
- Clear sealant spray

Instructions:
Step #1: Picture Perfect
Based on who the gift is for, choose four photos you’d like to use for this project; they could be snaps from a perfect family vacation, pictures of you and your love, or images of your best friend’s pooch. Resize them to 4×4 on your computer and print. Trim the pictures a tiny bit on each side with scissors.
Step #2: Terrific Tiles
Next, grab the small white tiles, readily available at your local hardware store for less than $1 per tile. Apply a layer of Mod Podge, then center the picture and place onto the tile. Let it dry for 30 minutes, then coat the top of the picture with another thin layer of Mod Podge, using horizontal stripes and then vertical stripes to do so. Let this layer dry for another 30 minutes, then apply another, final layer.

Step #3: Fantastic Felt
Cut the felt into a square that’s a bit smaller than the tile. Next, carefully glue felt onto bottom of coaster, using a hot glue gun if you can. This step ensures that your gift won’t scratch the recipient’s table, which makes it all the more thoughtful.
Step #4: Sealant Success
The final step is to spray the photo coaster with clear sealant to ensure that it’s moisture proof. Now this gift is ready for someone special!

Variations And Tweaks
Now that you’ve mastered our basic photo coasters DIY project, we’d love to share some other cool ways to ramp up this craft. For a more polished feel, you could round the corners of the printed pictures with scissors; that little round edge adds a touch of elegance to an already great gift. Similarly, you could substitute round white tiles for the coaster base instead of square for a different look. Simply cut the photos extra carefully or edit into circles on computer before printing to ensure best result.
For someone you don’t know as well, choosing landscape pictures or famous works of art to showcase is a great way to still provide a personal gift. To add some extra funk, choose colored square tiles for your base to make it pop. Instead of our version, consider a kid’s crafting coaster as a unique and charming gift for Father’s or Mother’s Day.
Additionally, rather than using photographs, you could paint the coaster different colors for an extra bohemian vibe. Another interesting tweak adds a rustic tone to this project, wooden coasters rather than tile. Finally, for presentation purposes, we love the addition of stacking the finished coasters then wrapping them with a simple satin ribbon; it provides an elevated touch for a perfectly thoughtful gift.
