Maple syrup is one of those condiments people just can’t seem to live without. Whether it’s being drizzled onto pancakes or waffles or you’re using a savory maple glaze on your favorite dinners, maple syrup sweetens some of the best dishes. Though you may not be someone who enjoys trekking out into nature to tap a maple tree for its sap, that’s part of the fun when it comes to making your own maple syrup. Creating your own condiment is not only something to be proud of, but it’s also simple too! Take a look at how to make maple syrup and bring the sweetness to your home.

It would be nice if we could just place a bucket underneath a tree and have it be filled with maple syrup in the morning, but life is cruel. You’ll need a few tools from your local hardware store before getting started to properly extract the sap and make it into something edible. But, don’t just dive in head-first when making your own maple syrup because there are some tips you’ll need to know beforehand.
Before You Get Started
If you’ve never made your own maple syrup before there are a few things that you’ll need to remember:
- The typical season for maple syrup is generally made between February and April.
- Weather plays just as large a role as the proper tree does to finding sap. Typically, you’ll need to wait for below-freezing nights and then an above-freezing mark daytime temperature for the sap to properly flow through the tree.
- Sugar maple trees and red maple trees are the money trees for getting sap.
Tools You’ll Need
Now that you know some of the basics you’ll need to purchase a few key instruments from the store. In order to make your outing successful you’ll need:
- Drill
- Hammer
- Spout
- Bucket or food grade container
After you’ve picked up these things you can officially start to tap trees for their sap.
What To Do From Here
- Identify the proper tree and bring your tools over.
- Drill a two-inch hole into the bark of the tree, but don’t go any further than this.
- After the hole has been made, lightly hammer the spout into the hole. Don’t hammer too hard because you don’t want to damage the bark.
- Once the spout has been properly placed, hang your bucket or food grade container from the spout and wait for it to fill.
As we already discussed, temperature plays a big role in the sap you’ll collect, so depending on what it’s like outside, you can have a full container by the day’s end. Don’t get too disheartened if the tree you’re tapping doesn’t provide a full container of sap as you’ll be able to try again. Keep your eyes on the forecast to see what the temperatures will be like so you can better plan your tapping.
Something else to keep in mind is that sap can go bad really fast, so as soon as the containers have been filled you should be moving them into your home to boil it and make it into maple syrup.

Alrighty, so you have a whole container full of sap. Now what? Well, now we can get into the good stuff.
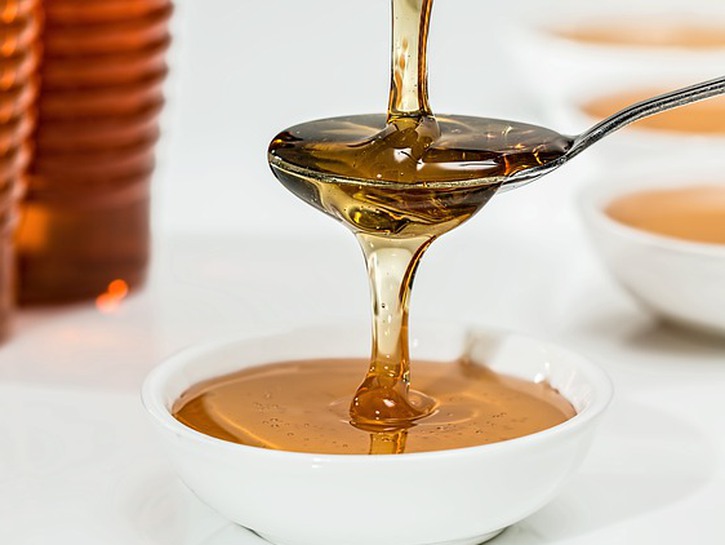
How To Make Maple Syrup
The first thing you want to do with your maple sap is to boil it. The amount of steam that comes from this process can be alarming if you’ve never done it before, so it’s recommended that you boil your sap outside.
What You’ll Need
- Outdoor stove
- Pot
- Candy thermometer
- Hydrometer
Steps
- Boil your maple sap. Ensure that you have at least 2 inches of liquid in your pot to keep it from boiling dry.
- Keep a close eye on the pot and once the sap starts to turn an amber in color, you’ll know you’re getting toward the end of your boiling time.
- Skim any foam that arises from the top.
- Place a thermometer into the pot and check to see that the temperature is 7 degrees Fahrenheit above the boiling point of water. If you see a temperature of 214 – 219 degrees Fahrenheit, your syrup should be done.
- Check the sugar levels in your syrup as well using the hydrometer. Syrup that is below 66% sugar (or 66% Brix, the term used for sugar concentration) will be too watery and runs the risk of being moldy. However, if your syrup reaches a concentration of 68% Brix or higher it will form crystals. You’ll want your syrup to have a Brix level of at least 66%.
Storage
Once you have your maple syrup you’ll need to bottle in glass jars or containers for safe keeping.
Maple syrup needs to be warmed for sterilization purposes before it’s poured into a container. Heat it to approximately 180 degrees Fahrenheit before transferring it to a jar. Don’t pour your syrup into a container without filtering it either as filtering removes any sugar sand that may have accumulated. Also, make sure that you screw the cap on as soon as you’re done the pouring.
You can keep the maple syrup at room temperature until you open it. Once opened, it needs to be moved to the refrigerator where it will keep for about a year. Syrup can grow mold and if you see this start to happen you’ll know that it’s time to pitch it.

Making maple syrup is a bit of a process if you’re new to the party, but once you’ve successfully tapped your tree you’ll have a delicious condiment in your fridge for the better part of a year… and you did it all by yourself!