There’s something nostalgic about an icy treat on a stick that renders even the most serious adult a kid again. However, not just any ice pop is as much of a staple as the iconic red, white and blue popsicle — that wonderful treat that not only symbolizes American freedom but the beginning of summer. Even if you’ve never been blessed with its deliciousness, you probably remember the excitement you’ve experienced upon hearing the ringing of the ice cream truck coming your way for you to get your hands on something cool and refreshing to tickle your taste buds.

The Firecracker
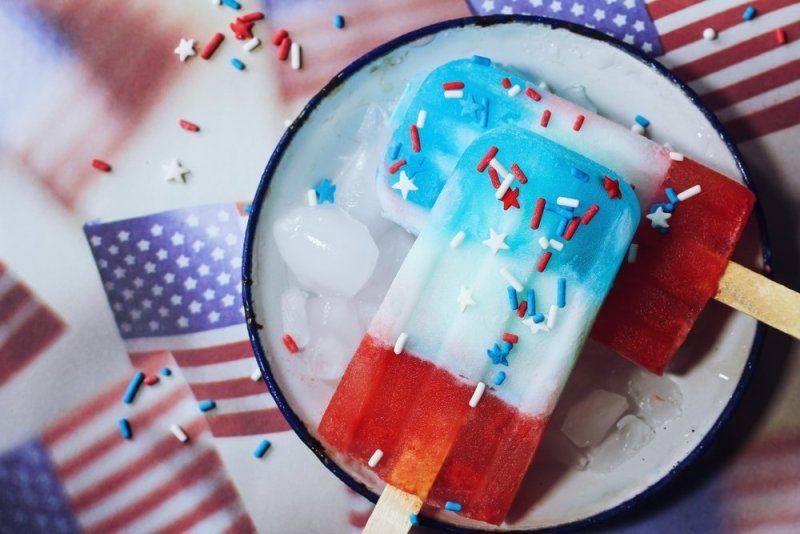
The red, white and blue popsicle, also dubbed the firecracker, is a popular frozen treat that has a red tip, white center, and blue base, set upon a stick. They are typically shaped like firecrackers, hence the name and are well-known popsicles that one would typically see during the 4th of July and other patriotic events. However, you can still find many versions of this food in most grocery stores all year long.
Though firecrackers come in multiple variations, from the store-bought to the ice cream truck, many of these kinds of treats, unfortunately, are often full of preservatives and artificial color. However, you can make it your own with a few simple tweaks, whether you love it sugary sweet or slightly tart. By utilizing the ingredients such as fresh fruit and yogurt, you can easily indulge without the guilt.
So, if you’re looking to make this deliciously easy treat, keep in mind this recipe could take a bit of patience, and if you have a special event coming up, make sure to plan, at least a few hours in advance.

What You’ll Need:
- Ice pop molds
- A mesh sieve
- A Blender
- A Silicon spatula
- A whisk
- Tin foil
- Popsicle sticks
For the Red Layer
- 2 cups of halved strawberries
- 2 tablespoons of granulated sugar
- 1 ½ tablespoons of lime juice
For the White Layer
- ¾ cup of full-fat plain yogurt
- 4 ½ tablespoons of heavy cream
- 3 tablespoons of granulated sugar
- 3 tablespoons of lime juice
For the Blue Layer
- 2 cups of blueberries
- 2 tablespoons of granulated sugar
- 1 ½ tablespoons of lime juice

How to Make:
The Red Layer:
- Combine the strawberries, sugar, and lime juice in a blender until fully pureed.
- Scrape the sides as needed with a rubber spatula, then strain through a mesh sieve into a small bowl, discarding all the solid pieces.
- Fill the ice pop molds about 1/3 of the way, then place a square of tin over molds, ensuring that it’s sturdy enough to hold the popsicle sticks in place.
- After inserting the popsicle sticks, place the strawberry filled molds into the freezer for about 30 minutes or until completely frozen, to avoid discoloration from bleeding.
The White Layer:
- In a small bowl, whisk together the yogurt, sugar, cream, and lime juice.
- Then remove the molds, containing frozen strawberry juice, from the freezer and discard the tin foil.
- Next, pour the white mixture another 1/3 of the way, on top of the frozen strawberry mixture. Place the mixture into the freezer for an additional 30 minutes.
The Blue Layer:
- Blend the blueberries, sugar and lime juice.
- Using a blender, puree the mixture and strain through a fine-mesh sieve into a small bowl.
- Remove molds from the freezer and fill up another 1/3 of the way into the mold, on top of the frozen white mixture, leaving about a ¼ of an inch of space. This will complete your red, white and blue pattern. Freeze for another 30 minutes.
You may freeze the mixture up to about 3 hours to ensure that the popsicles are completely frozen. Once popsicles are ready to be served, gently release them by running warm water over the molds. Serve immediately and enjoy!
Though they are most popular during the summer, red, white, and blue popsicles can be enjoyed any time of the year. They are delectable treats that everyone will love, with satisfying, thirst-quenching ingredients that will make you wish you’d tried them sooner.