Encourage some pretty visitors to your outdoor entertaining space with our simple recipe for homemade hummingbird nectar! This sweet substance will attract some charming new friends to your garden. We’ll explain how to make nectar at home, plus offer some tips for maintenance of your feeder, and some helpful background info about the buzzing little birds themselves.
Why Feed Hummingbirds?

Before we begin, it’s helpful to know why we would even bother to make nectar for hummingbirds in the first place. For this information, we looked to the expert Audubon Society, which exists to “protect birds and the places they need, today and tomorrow.” According to this organization, hummingbirds are one of the smallest birds in the world, with one of the largest appetites. That’s because they flap their wings up to 90 times each second! That is quite the workout, and means these little birdies need to feed almost constantly, about every 10-15 minutes. Each day, they consume over half of their body weight in bugs and nectar by visiting between 1,000-2,000 flowers. Offering nectar in a feeder at your home gives hummingbirds another option to help meet their daily nutritional needs. And, they are lovely to behold, so it’s a win-win situation.
DIY Homemade Hummingbird Nectar

Let’s dive right into the recipe for homemade nectar! Please note, only refined white sugar is appropriate for this task. Honey and other sweeteners can be harmful to the birds. Additionally, some older recipes for DIY hummingbird feed contained red food coloring; in recent years, this addition has been discontinued since the chemicals aren’t natural and could be harmful to the birds.
What You’ll Need
- saucepan
- bowl
- spoon
- measuring cups
Ingredients
- 1/4 cup refined white sugar
- 2 cups water

Instructions
Step #1: Boil Baby Boil
Pour water into pot and heat on high until it reaches a full, rolling boil. Remove from heat and measure out one full cup of boiling water.
Step #2: Stirring Success
Pour the cup of boiling water into a bowl. Slowly add sugar and mix until fully dissolved.
Step #3: Cool As A Cucumber
Let nectar cool completely, then fill your hummingbird feeder and hang outside. You’ll have some new little visitors soon thereafter!
Other Information On Hummingbirds

Now that you’ve successfully crafted hummingbird nectar, we have a few tips for best maintenance of your feeder. You’ll want to add more nectar every three to five days or so during warmer weather. When it’s cool, once a week will suffice. Be sure to discard any unused nectar before you refill it. If you notice any ants or any sort of mold growth, clean immediately with warm water and a couple drops of bleach. Rinse thoroughly, then let dry completely before refilling and hanging the feeder back outside.
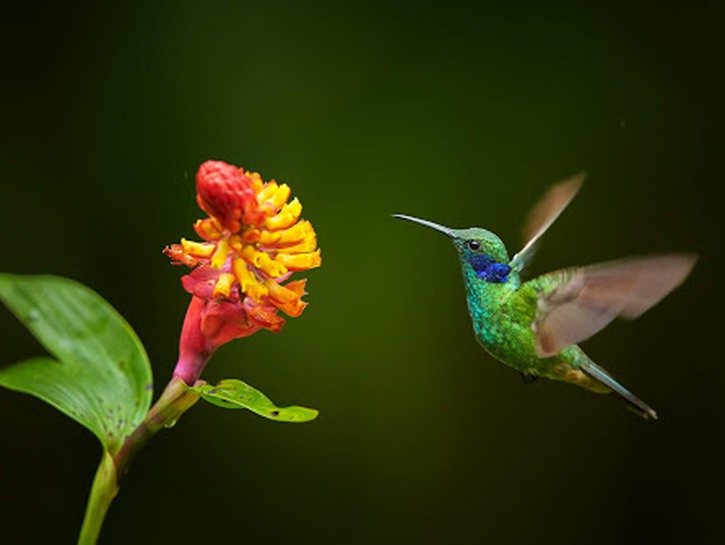
If you’re having trouble attracting hummingbirds, consider planting some tall orange or red flowers near your feeder. Hummingbirds are naturally attracted to those colors so that might help increase your homemade nectar’s visibility.
Overall, we hope you’ve enjoyed our birding journey with hummingbirds, homemade nectar, and our maintenance tricks. Happy feeding!