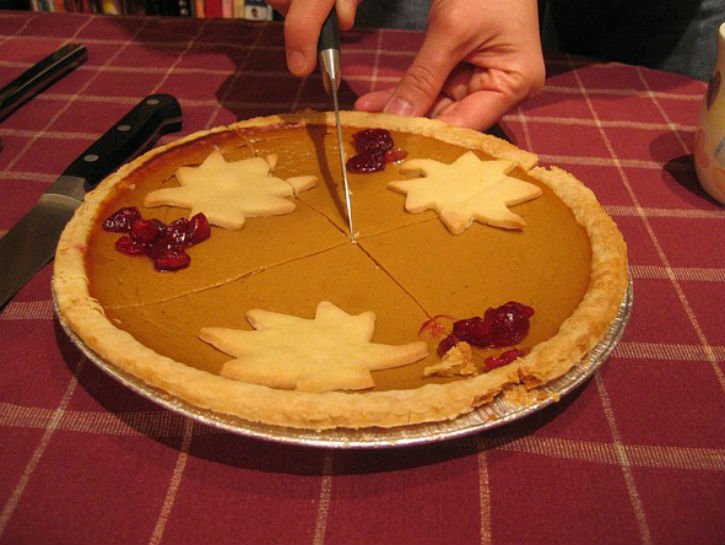
Ugly, messy pies can taste delicious. But making a beautiful pie with a crimped (or fluted) crust can add style to the sweet treat that dresses up a table during the holidays. Some people are pastry wizards that can turn mounds of flour and butter into a work of art. But, if you are like me and need some help making decorative pie edges, try these simple hacks to create a picture-perfect pie crust. Luckily, at least one of these tools will be in your kitchen drawers. Your first effort might not turn out perfectly, but if you keep at it, you will be happy with the results.
How To Crimp Pie Crust
1. Corkscrew Crimping

For this method from Bakepedia, us a 9-inch pie pan, you want to roll out your dough into a 10 to 11-inch round that is about an eighth of an inch thick. Then, drape the dough over the pie plate and use the overhang to create a thick rim. Then, use an open corkscrew to crimp the edges. Just don’t press too hard into the dough or you could crack, cut, or break it.
2. Tong Crimping

Tongs can be a huge pain when they open up and jam a drawer closed, but they are easy to use when it comes to crimping a pie claims King Arthur Flour. The majority of tongs have a scalloped edge that are perfect for crimping a pie crust. After you have smoothed out your crust overhang on your pie pan and trimmed it, use an edge of one of the tongs to press the design around the rim.
3. Fork Crimping

With just a simple fork, you can create a beautiful pie crust by pressing into the dough with fork tines at a 45-degree angle, like they do at Salted and Styled. Then, you will go back and press the tines again in the opposite direction. With this method, you will want to make sure that your crust overhang is smoothed out and trimmed first.
4. The Pinch

If you want to just skip the tools and use your fingers, you are in luck. The Spruce Eats suggests a simple pinch done the right way can create a rope-like effect and give your pie crust a beautiful crimp. Use your thumb and index finger to gently pinch the crust edge. You want to do this at an angle, and gently pull the outer edge of the dough with each pinch, which should be about three-quarters of an inch apart.
5. Measuring Spoon Crimping

Another method from the King Arthur Flour blog uses a one-eighth teaspoon measuring spoon to make delicate crusts look special. Simply dust your spoon with some flour and press the round side around the edge to create circular indents for a creative crimp.
6. Piping Tip Crimping

If you have naturally hot hands, it can make pie crust crimping even more of a challenge according to King Arthur Flour. When your butter and dough are chilled, hot fingers can melt the butter in the crust when you crimp, and that makes your decoration look smooshed.
So, if you put a chilled piping tip over your finger, it will protect the crust from your hot hands. And, depending on the style that you choose, you can make everything from a simple indent on your crust to a unique design.
7. Grapefruit Spoon Crimping

This crimping method from Salted and Styled uses a grapefruit spoon — a tiny, spiky spoon that has a serrated tip — to make a rainbow pattern on the edge of your crust that has one, two, or three layers. Work your way around the pie by pressing with the serrations into your crust. If you want to add another layer or two, make your way around the pie again, this time pressing the dough just below the first rainbow.
Help Your Design Keep Its Shape

.jpg)
You don’t want to go through all of the trouble of making a lovely design on your crust just to discover it is missing after you bake your pie. So, to help your designs keep their shape, chill the pie in the fridge for about 30 minutes before you bake it.
When you chill the pie in the fridge, it will cause the fat to take more time to melt, and that means your design has more time to set in the oven.
There is actually a secret to making the perfect crust. And, when it comes to decorating that crust, you want to start out with too much dough instead of not enough. Always make sure you have at least a half-inch overhang after trimming and roll it underneath itself to create a thicker edge to work with. And, for a beautiful, glossy golden-brown color, brush an egg wash of one egg mixed with one tablespoon of water over your crust.
Now, it’s time to start baking!