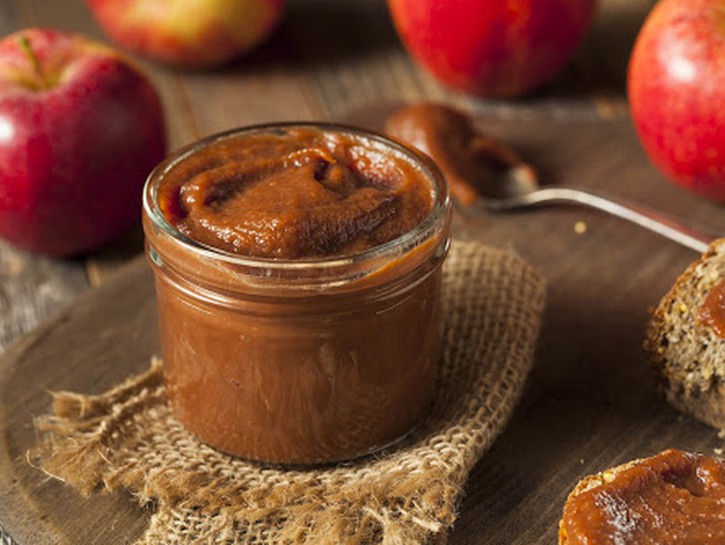
The prevalence of apple butter is a sure sign that fall has arrived. So, get ready to embrace all the autumnal vibes with our easy-peasy crockpot apple butter recipe. We’ll walk you through each step, then discuss some variations and suggested pairings. Get ready to live apple-y ever after with our amazing apple butter guide!
The Recipe

Before we can begin, let’s first collect the necessary ingredients and kitchen items. Our recipe makes about ten servings of apple butter. if you can’t get enough, consider doubling it and freeze the leftovers. Remember, please allow enough time for this recipe since it cooks for about eight hours in the crockpot.
What You’ll Need
- measuring cups and spoons
- immersion blender or food processor
- mason jars with lids
- crockpot with lid
- paring knife
- cutting board
- peeler
- large wooden spoon
- kitchen funnel
Ingredients
- 1/4 cup coconut sugar or brown sugar
- 3 pounds of apples (gala, McIntosh, or Red Delicious are best)
- 1/2 tablespoon vanilla bean paste
- 1/4 cup granulated sugar
- 1/8 teaspoon salt
- 1 tablespoon ground cinnamon
Instructions

Step #1: Slice, Slice Baby
Begin by peeling, coring, and slicing the apples. Do this carefully with the peeler then paring knife over a cutting board. Discard unneeded parts and set aside desired parts.
Step #2: Crockpot Creativity
In crockpot, combine the prepped apples with cinnamon, sugars, vanilla paste, and salt. Stir until well-mixed.
Step #3: Slow Bake
Set crockpot to low temperature and cook, stirring occasionally, for eight hours. Apple butter should be quite thick at this point. If it’s not, consider cooking on low for an additional hour.
Step #4: Blending Beauty
With immersion blender, blend apple butter until it reaches a smooth and creamy consistency.
Step #5: Transition Time
To properly transition the finished apple butter into the jars, carefully lift and tilt crockpot into a kitchen funnel inside the receptacle. Alternatively, use a spoon to transfer from crockpot to funnel. Be sure to not overflow the jar. Repeat as necessary until all apple butter has been removed from crockpot. Add cap to jars once you’re all finished.
Step #6: Storage Success
Apple butter will be good for about two weeks if kept in mason jars in fridge; freeze what you won’t use in that time.
Variations

Now that we’ve successfully made basic apple butter, it’s time to share a few variations and uses for this item. For a chunkier end result, skip the fourth blending step and go right to storage. To speed up the timing of our apple butter, consider using applesauce instead of apples; not only does it not need to cook as long, but you’ll be able to skip the tedious coring, peeling, and slicing process. Simply substitute 10 cups of unsweetened applesauce for the three pounds of apples. Apple butter not your thing? Check out another fall staple spread, pumpkin butter instead.
Uses

Our favorite uses for apple butter include spread on toast, biscuits, muffins, or cinnamon rolls. For a dessert option, drizzle some on top of homemade ice cream. For a show-stopping autumn brunch, add apple butter to plain, almond flour, cinnamon roll, or applesauce pancakes; there’s even a vegan pancake option as well. We also love a fall twist on classic PB&J using apple butter instead of jelly. But as you can see, there are so many ways to enjoy the many version of apple butter this fall. How a-peel-ing!
